MARCH Series Part 3: R - Respiration

If you’ve been following along with our MARCH series, you know we’ve already covered the "M" (Massive Hemorrhage) and the "A" (Airway). By this point in a trauma scenario, you’ve stopped the bright red, spurting blood with a tourniquet or wound packing, and you’ve made sure the patient has a clear path for air to travel from their mouth to their lungs.
But here is the reality: a clear airway doesn’t matter if the "bellows" (the lungs) aren’t working.
Welcome to Part 3: Respiration. In the Citizen First Responder course we host at Mariners Cove in Oceanside, NY, this is where things get technical, urgent, and incredibly vital. When we talk about "R" in the MARCH assessment, we aren’t just checking to see if someone is breathing; we are looking for holes in the "box" that prevent the lungs from doing their job.
Understanding the "Box": Umbilicus to Clavicle
In a tactical or trauma situation, we define the "torso" or "the box" as the area from the belly button (umbilicus) all the way up to the collarbones (clavicle). This includes the front, the back, and, most importantly, the sides.
When a person is involved in a high-stress incident, whether it’s a car accident or a situation involving penetrating trauma, the adrenaline is pumping. You might see a wound on the chest and think you’ve found the problem. But if you aren't checking the armpits, the folds of the skin, and the entire back, you are missing half the picture.
At C&G Solutions, we teach you to perform a thorough physical sweep. You need to get your hands on the patient. You are looking for blood, but you are also feeling for "crepitus" (a crunchy sensation under the skin like Rice Krispies) and listening for the tell-tale signs of a "sucking chest wound."
What is a Sucking Chest Wound?
The chest is a pressurized system. To breathe, your diaphragm drops, creating negative pressure that pulls air into your lungs through your airway. When there is a hole in the chest wall, from a bullet, a piece of metal, or a knife, that vacuum is broken. Air begins to enter the chest cavity through the wound instead of the trachea.
This is a sucking chest wound. You might literally hear a whistling or sucking sound as the patient tries to breathe.
The danger here isn't just the hole itself; it’s what happens next. As air fills the space between the lung and the chest wall (the pleural space), the lung begins to collapse. This is known as a pneumothorax. If that air continues to build up and has no way to escape, it creates pressure that pushes against the heart and the healthy lung. This is a Tension Pneumothorax, and it is a leading cause of preventable death on the battlefield and in the civilian world.
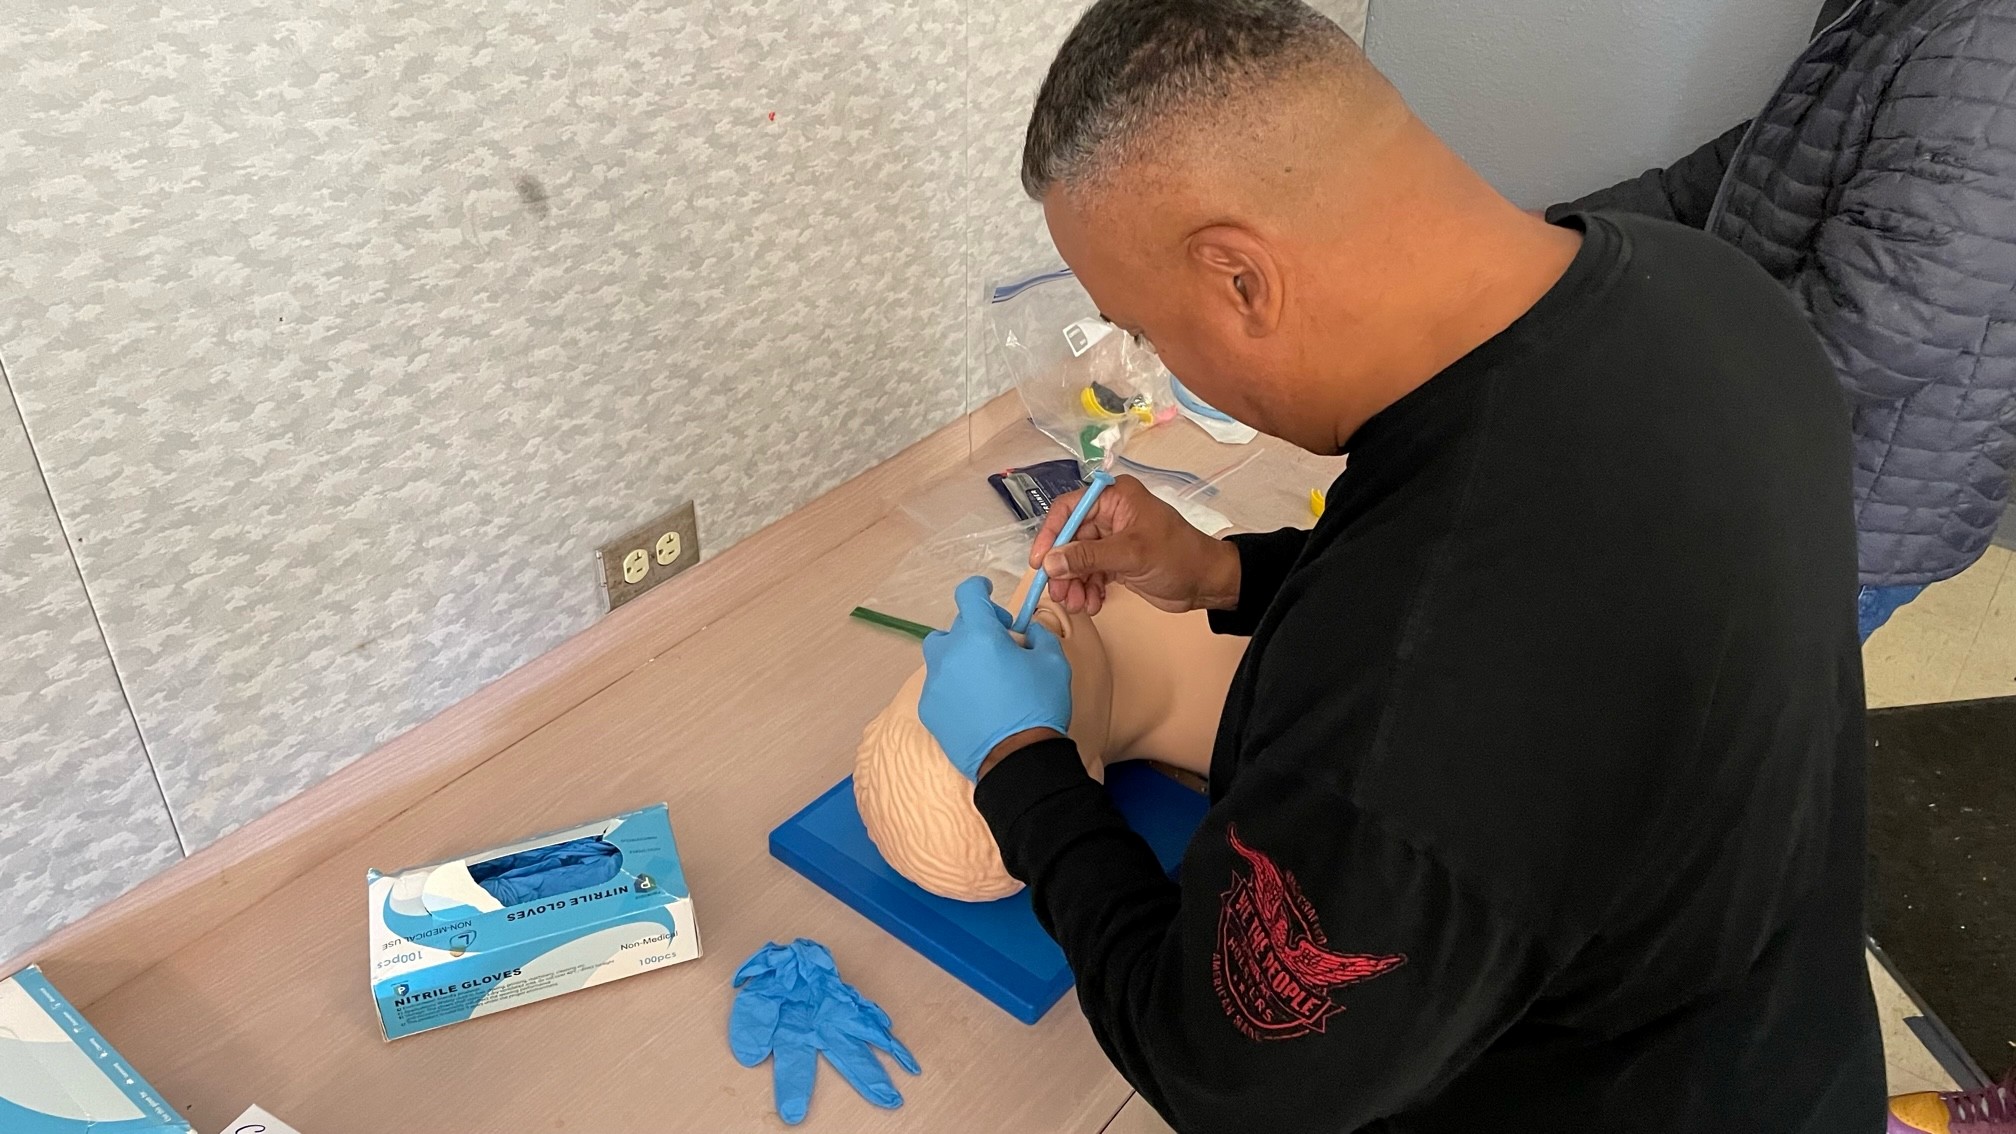 Box sweep training on a mannequin, reinforcing the need to check the full torso area from umbilicus to clavicle, including the sides and back.
The MARCH Assessment: Finding the Trauma
When you reach the "R" phase of your assessment, you are performing a systematic check.
- Expose the Torso: You cannot treat what you cannot see. Use trauma shears to remove clothing.
- The Sweep: Check the front, then the sides (check the armpits!), and then log-roll the patient to check the back. If there is an entry wound, there is very likely an exit wound.
- Identify Penetrating Trauma: Any hole between the neck and the navel needs to be addressed immediately.
Navigating a medical emergency can feel like an uphill battle, especially when the clock is ticking. But identifying these injuries early is the clear, reliable path to saving a life. This isn't just for professionals; it's a responsibility for anyone who carries a firearm or works in high-risk environments.
The Intervention: Using Chest Seals
In the old days, people were taught to use plastic wrap and duct tape to seal a chest wound. We’ve come a long way since then. Today, the gold standard is the Vented Chest Seal.
In our Citizen First Responder Course and medical modules, we specifically recommend and train with brands like HALO or HyFin. These are specialized occlusive dressings with a powerful adhesive that can stick even to skin covered in blood, sweat, or dirt.
Why "Vented" Matters
A non-vented seal closes the hole completely. While this stops air from entering, it can also trap air inside. A vented seal acts as a one-way valve. It allows air and blood to escape the chest cavity but prevents outside air from being sucked back in. This significantly reduces the risk of a simple pneumothorax turning into a fatal tension pneumothorax.
How to Apply a Chest Seal:
- Wipe the area: Use gauze or the patient's clothing to quickly wipe away excess blood so the adhesive can grab.
- Apply on Exhale: If possible, wait for the patient to breathe out before slapping the seal down. This pushes as much air out of the wound as possible.
- Center the Seal: Make sure the wound is in the middle of the dressing.
- Seal All Holes: If you find three holes, you apply three seals. Don't assume one is "just a scratch."
 Vented chest seal demonstration in a training context (no firearms), showing proper placement and adhesion.
The Concept of "Burping" a Dressing
Let’s say you don’t have a vented seal. Maybe you only have an old-school occlusive dressing or you’re in a "make-do" situation. If the patient’s breathing starts to get worse, if they become more distressed, their heart rate spikes, or you see their neck veins bulging, the pressure inside their chest is likely building.
This is when you need to "burp" the dressing.
You briefly lift one corner of the seal to allow the trapped air to hiss out. You will often hear the air escape, and the patient may experience immediate, albeit temporary, relief. Once the pressure is released, you seal it back down. This is a stop-gap measure until higher-level medical help arrives.
Why This Matters for the Citizen First Responder
Most people think that medical emergencies are something that only happen to "other people" or that the "ambulance will be there in five minutes." In reality, in a city like New York, traffic, crowd conditions, or the nature of the incident can delay EMS.
When you participate in a firearm safety course nyc, you are taking on the responsibility of being a protector. But protection isn't just about the trigger press to the rear; it’s about the "Total Package" of safety. If you are prepared to use force to stop a threat, you must be equally prepared to provide first aid for chest wounds to those caught in the crossfire or to yourself.
At C&G Solutions, we don't just teach you the "how", we teach you the "why." Understanding the physics of respiration changes the way you look at your IFAK (Individual First Aid Kit). Is your kit just full of Band-Aids, or do you have two vented chest seals ready to go?
Training for Real-Life Scenarios
Reading about chest seals is one thing. Applying them to a sweating, moving person while your own heart is racing at 140 beats per minute is another. That’s why hands-on training is crucial.
In our Citizen First Responder course, we use medical simulation mannequins and realistic drills to ensure your confidence soars. We create a supportive environment where you can make mistakes and learn from them before it matters in the real world.

Whether you are a retired officer looking for HR218 recertification or a civilian who just received their concealed carry permit, the ability to manage respiration is a fundamental skill. It is the difference between standing by helplessly and taking decisive action.
Summary Checklist for "R"
- Identify the Box: Check from the belly button to the neck.
- Sweep Everything: Don't forget the armpits and the back.
- Seal the Holes: Use vented seals (HyFin/HALO) for all penetrating trauma.
- Monitor: Watch for signs of tension pneumothorax and "burp" the seal if necessary.
Position: If the patient is conscious, let them sit in whatever position makes it easiest for them to breathe (usually sitting up). If unconscious, use the recovery position with the injured side down* to protect the good lung.
Defend with skill, Act with confidence.
If you found this breakdown of the MARCH series helpful, please share it with your fellow shooters and family members. Staying informed is the first step toward staying safe.
If you’re ready to get hands-on with this gear, check out our upcoming Citizen First Responder Course at our Oceanside location. We’ll see you on the mats!
Well-Taught, Well-Trained
Safety always comes first. We teach proper firearm handling to help prevent accidents and encourage responsible ownership.